
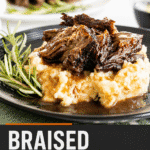
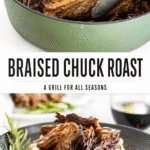
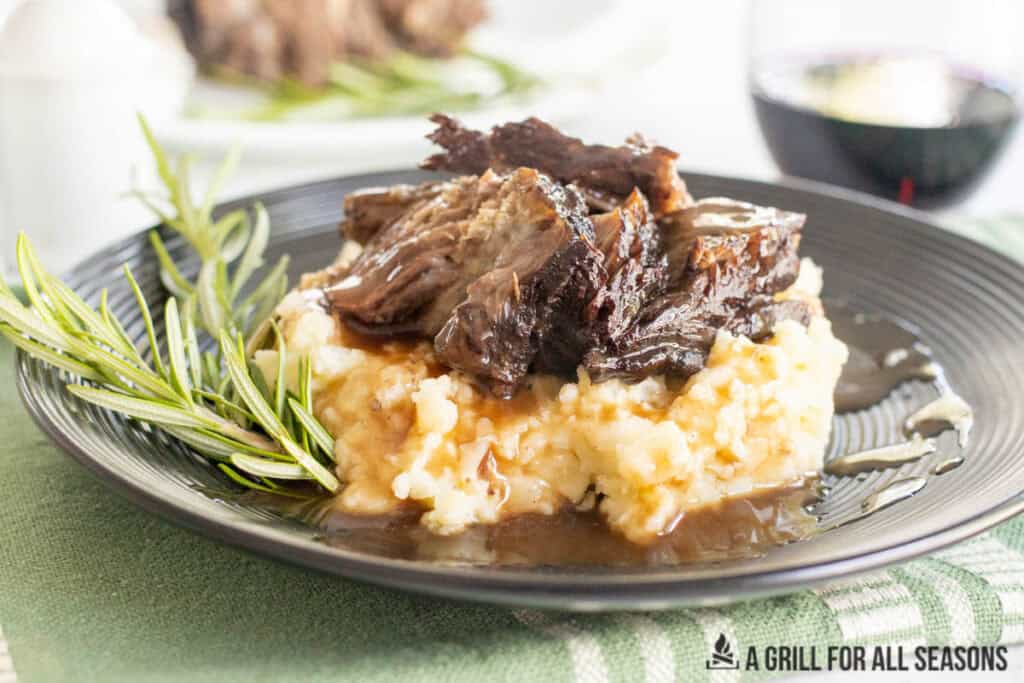
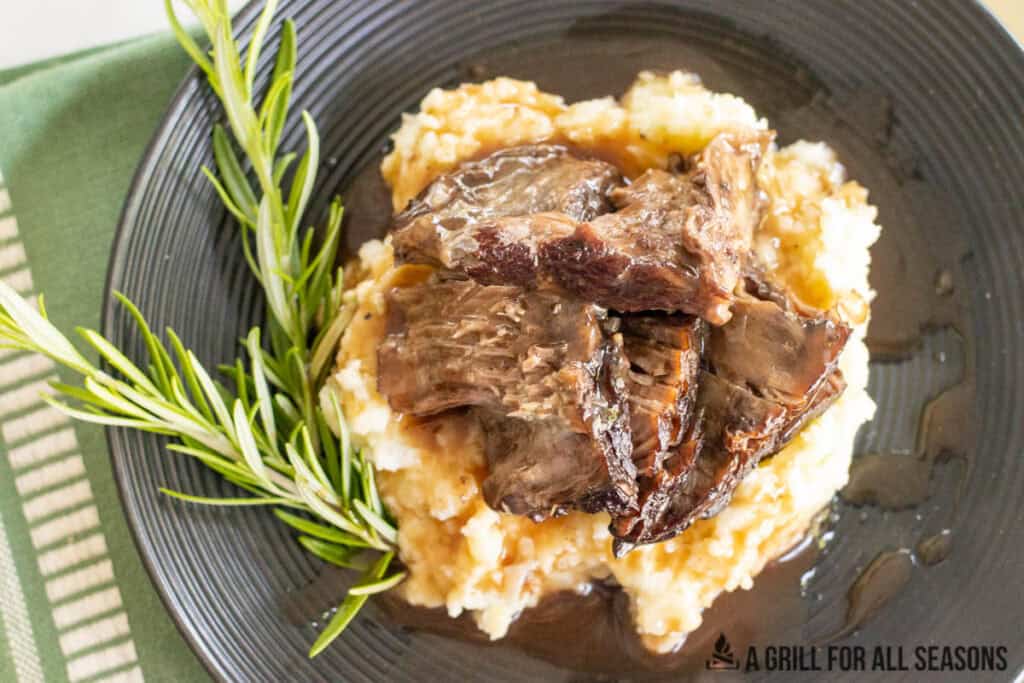
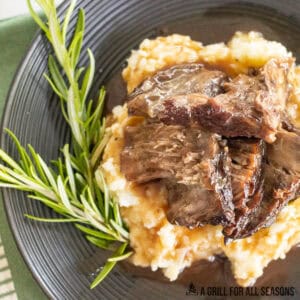
Braised Chuck Roast is a delicious beef recipe full of rich flavor. If you've been searching for a way to make the perfect pot roast, the printable recipe card below has all the delicious details. Pair it with creamy mashed potatoes to make the ultimate comfort food dinner.
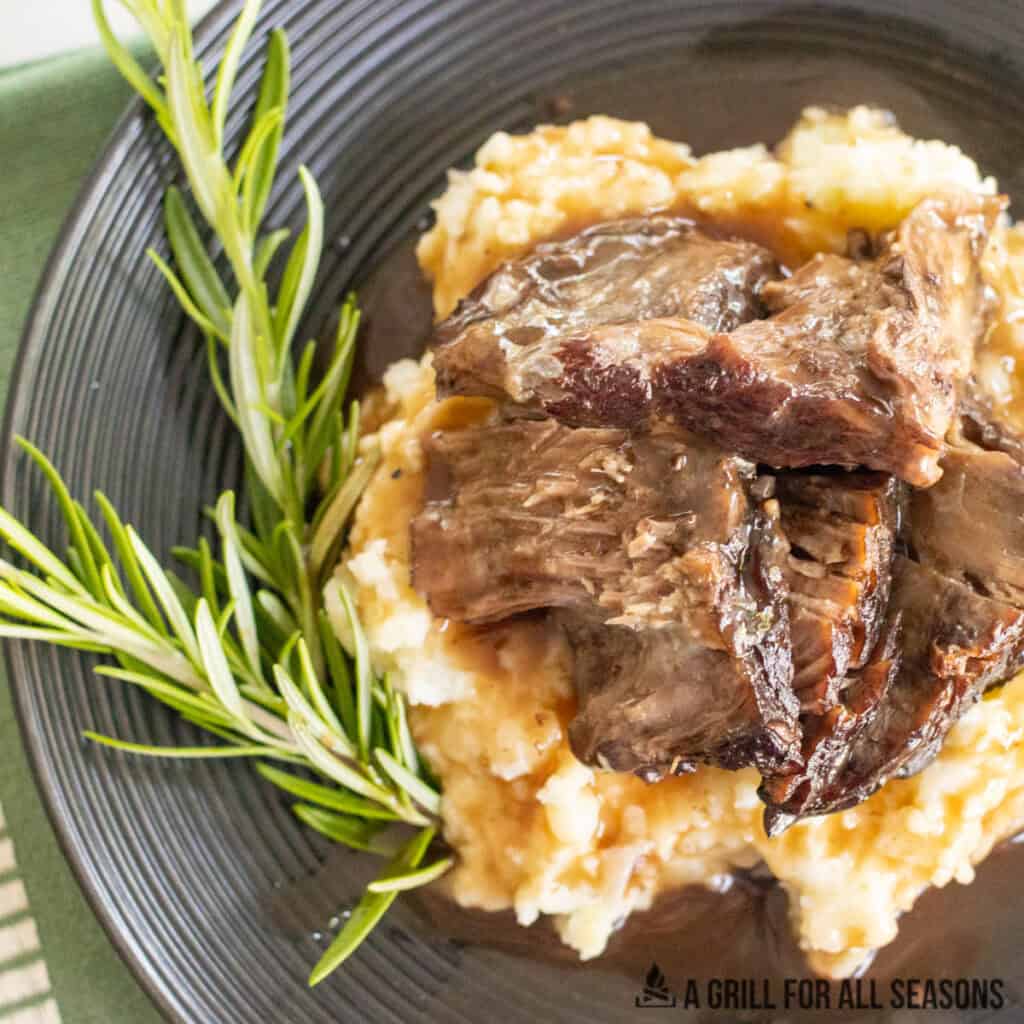
Making this one-pot meal for family dinner during the colder months is one of our favorites. The depth of flavor in each bite means that it's a family request month after month. Using a Dutch oven instead of a slow cooker gives you that low-and-slow braise while developing plenty of rich flavor right in the pot.
In my opinion, it's a great recipe with so much flavor. This easy braised beef recipe is perfect for Sunday dinner or a cozy meal during the colder months. It's also a great way to make sure that you have leftovers the next day. Trust me—this tender pot roast will be an instant hit.
Be sure to try this Sous Vide Chuck Roast and this Smoked Pulled Beef for two other delicious meals.
Ingredients
- Beef chuck roast - A well-marbled chuck roast becomes tender and flavorful during the slow braise.
- Olive oil - Used for searing the beef and sautéing the onions and garlic.
- Garlic cloves - Add plenty of savory garlic flavor.
- Onion - Adds flavor to the braising liquid as it cooks.
- Beef broth - Creates the flavorful braising liquid and adds moisture while the roast cooks.
- Red wine - A dry red wine adds rich flavor and helps deglaze the Dutch oven.
- Salt and Black Pepper - I like kosher salt and freshly ground black pepper for seasoning the beef before searing.
- Fresh herbs - Fresh rosemary and bay leaves add savory flavor to the braising liquid.
See recipe card for quantities.
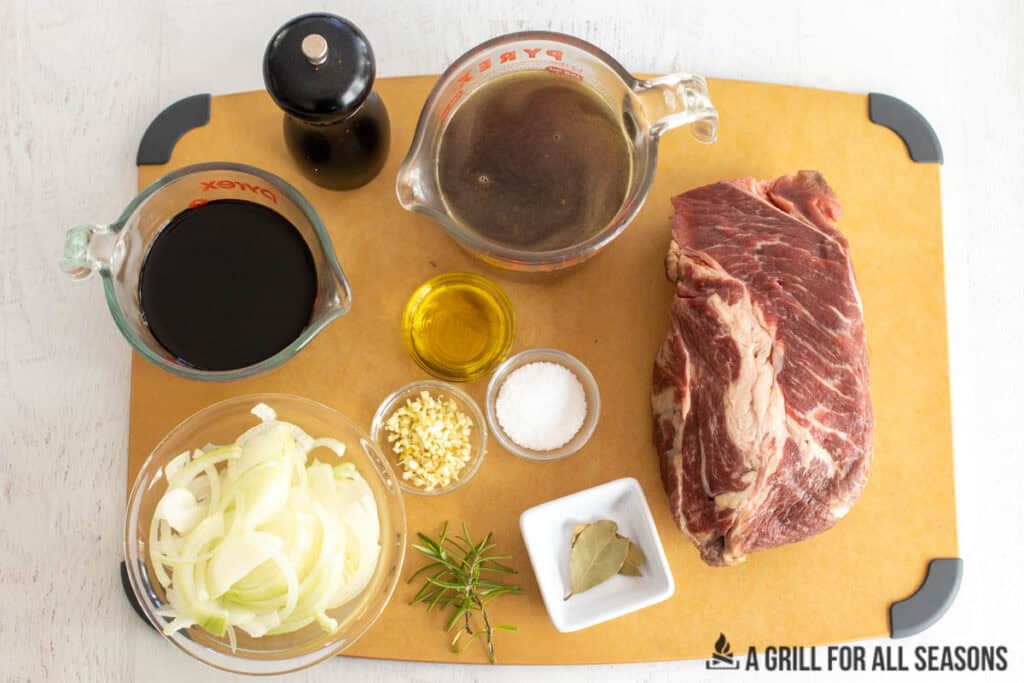
How to Make Braised Chuck Roast
Preheat the oven to 325 degrees.
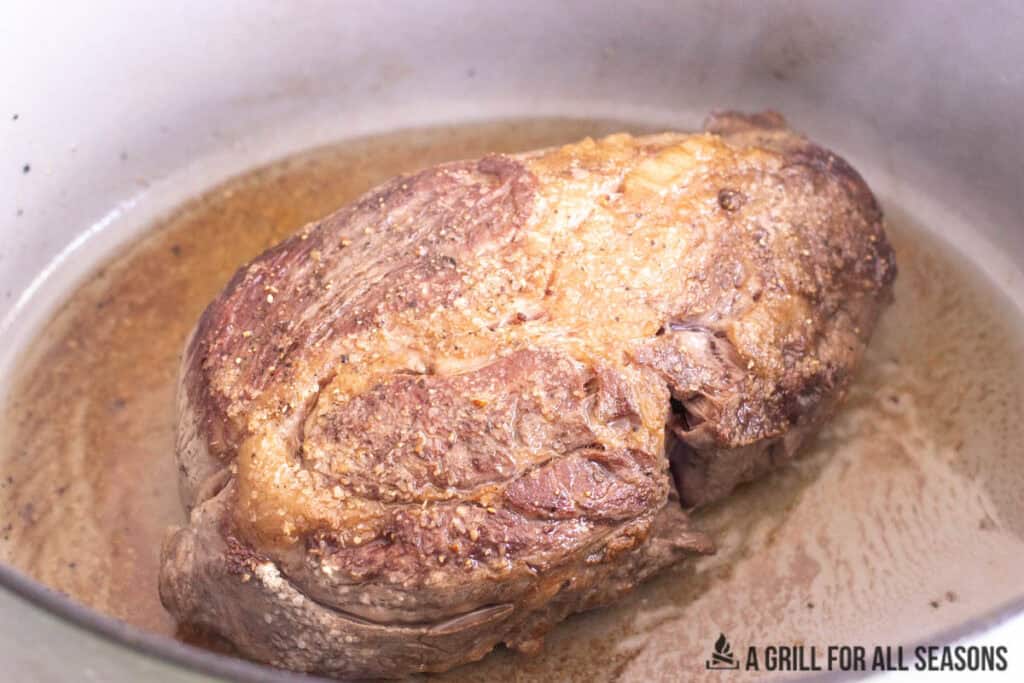
Step One: Add the olive oil to the Dutch oven over medium-high heat. Season the beef with salt and pepper. Sear the beef on all sides, then remove it from the pot.
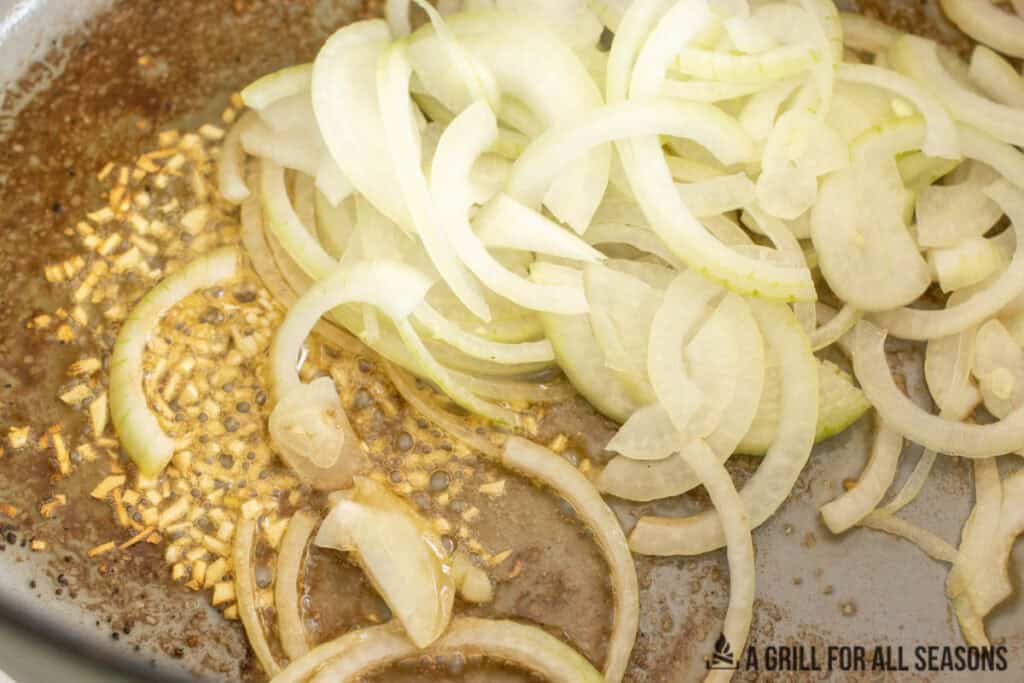
Step Two: Sauté the onions and garlic over medium heat until they begin to soften.
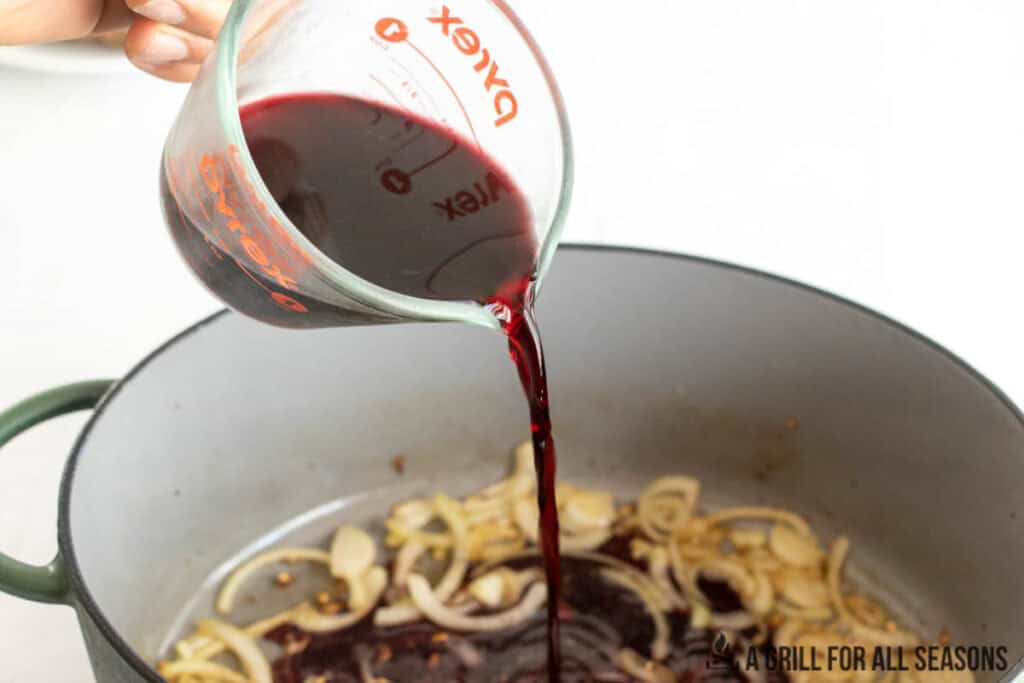
Step Three: Add the dry red wine and bring it to a gentle simmer, scraping up the browned bits from the bottom of the pot.
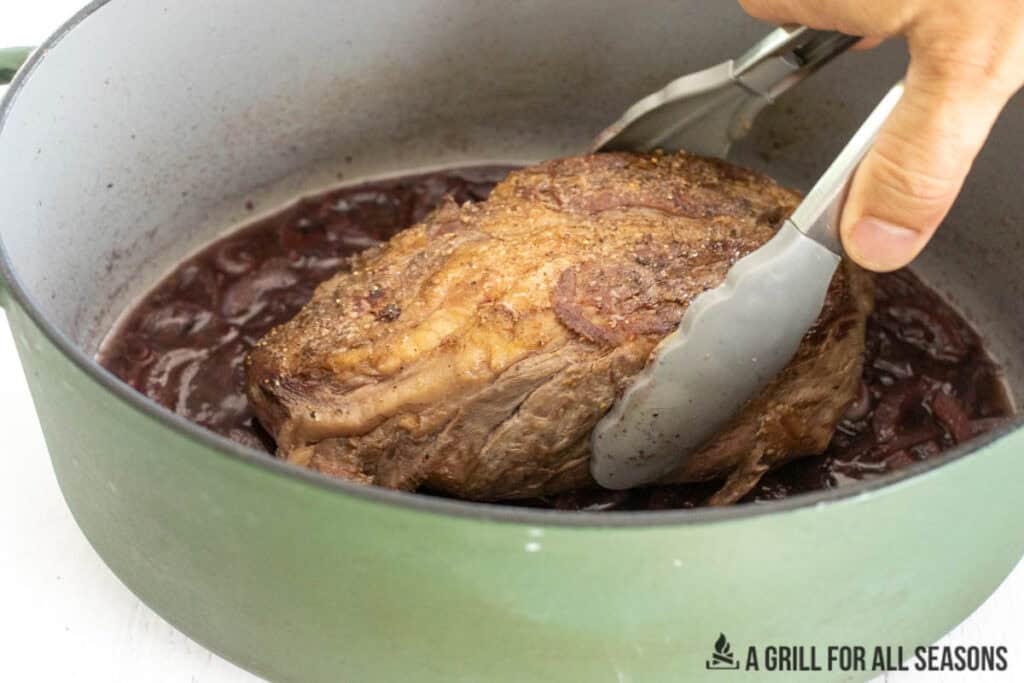
Step Four: Add the roast to the pot and add the broth. It should reach halfway up the sides of the meat.
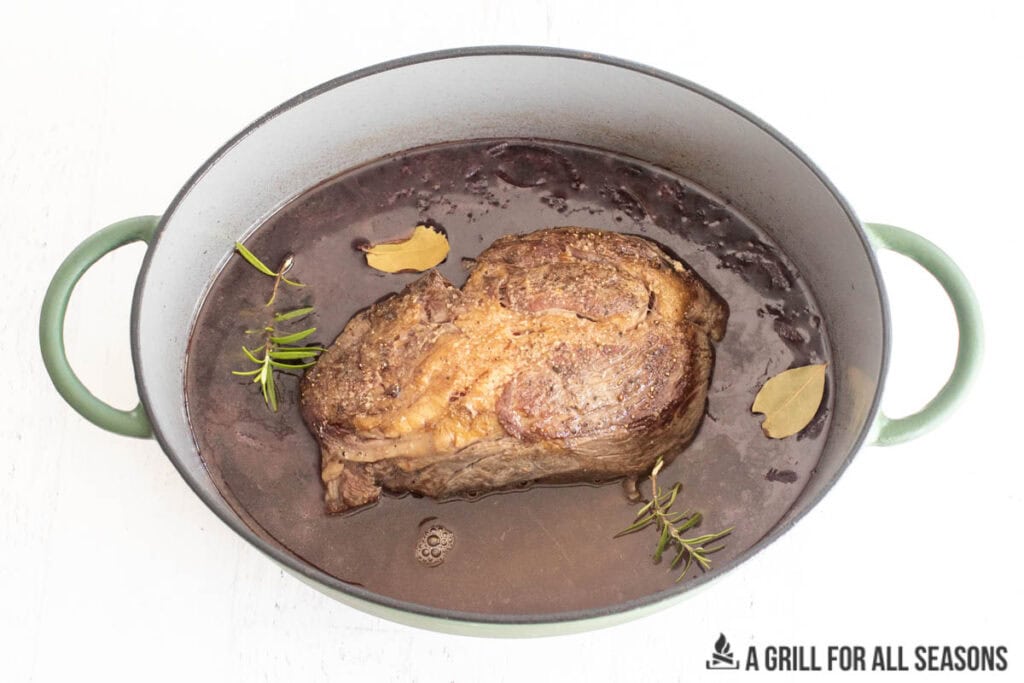
Step Five: Add the fresh herbs and seasonings and bring the braising liquid back to a gentle simmer.
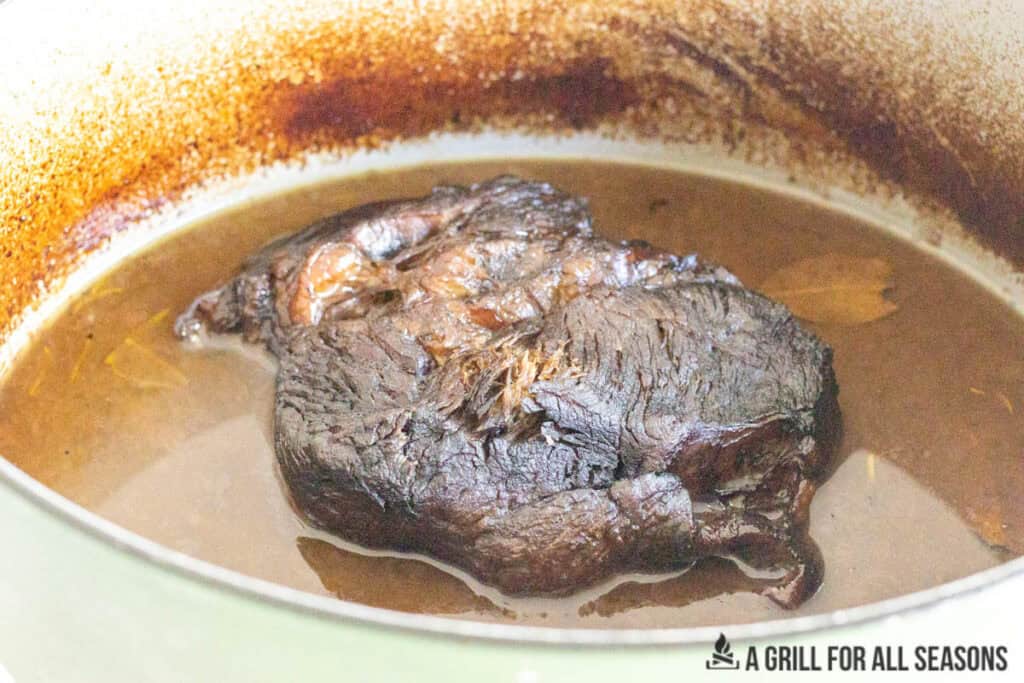
Step Six: Cover with a tight-fitting lid and place the Dutch oven in the oven. Braise until the chuck roast is fork-tender, then let it rest before serving.
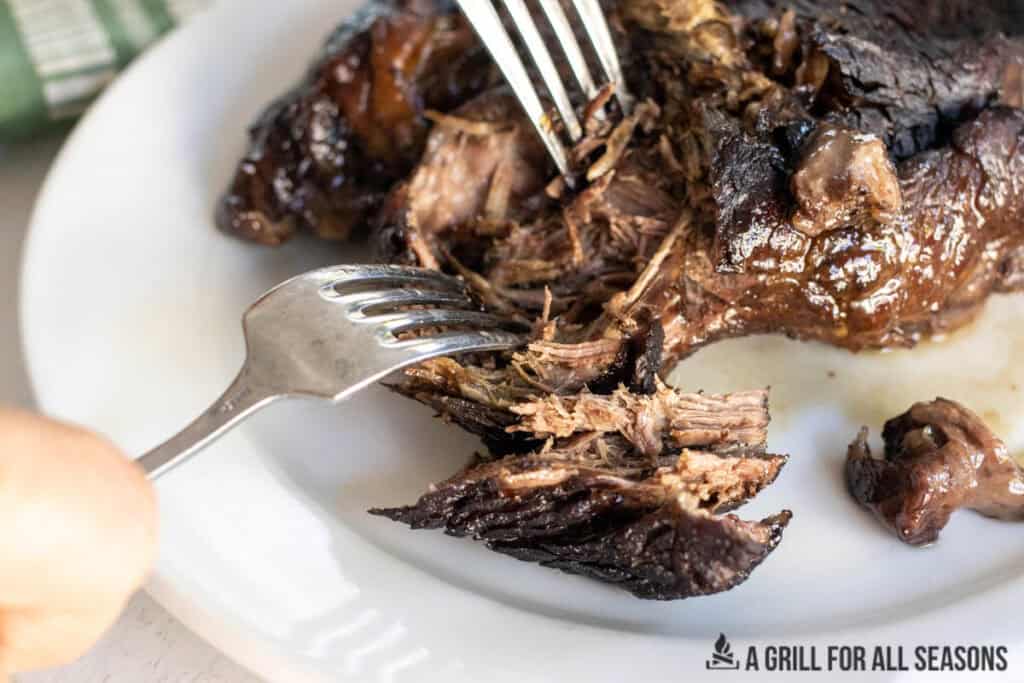
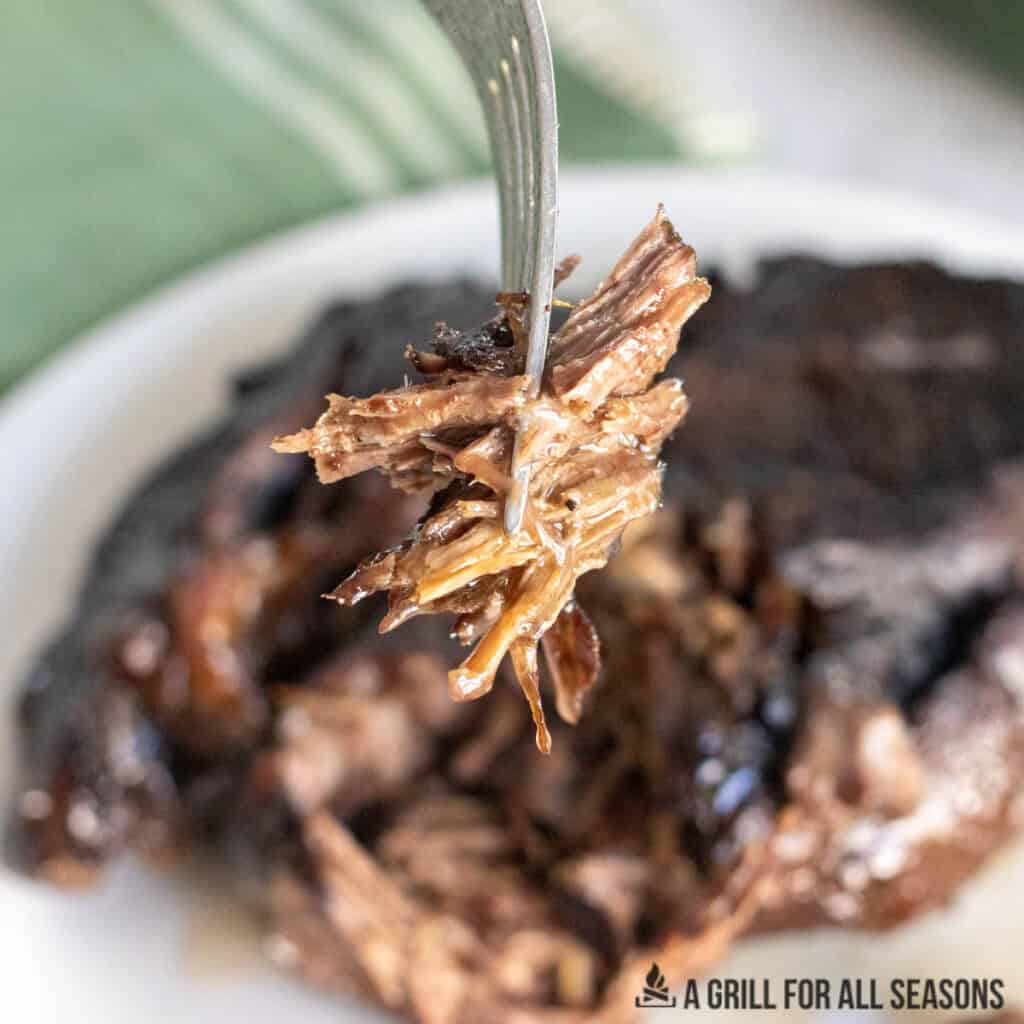
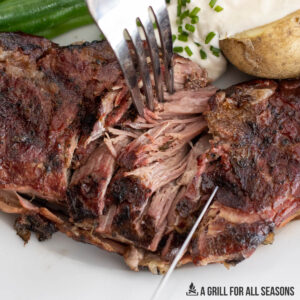
Step Seven: Shred the beef with two forks. If it pulls apart easily, you know the roast is done.
Top Tip
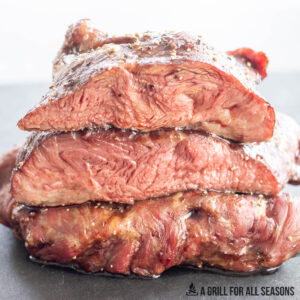
Chuck roast is done when it's fork-tender and pulls apart easily. If the meat still feels tough, it generally needs more braising time. Chuck roast contains a lot of connective tissue, which breaks down during the slow braise and gives the beef that tender texture.
Substitutions
- Beef stock - Beef stock can be used in place of beef broth for the braising liquid. It will give the roast an even richer beef flavor.
- Red wine - If you prefer to cook without wine, replace it with additional beef broth or stock.
Variations
- Seasonings - Change the seasonings to suit your taste. Garlic powder, fresh thyme, fresh rosemary, or bay leaves all pair well with braised beef. Adding a little tomato paste or Dijon mustard to the braising liquid is another great way to boost the flavor.
See this Smoked Bottom Round Roast Recipe for another great dinner option.
Equipment
To make this pot roast recipe, you'll need a Dutch oven with a lid and a wooden spoon. Once the roast is done cooking, a cutting board and sharp knife will be needed.
Storage
Let the leftovers cool, then transfer the beef and some of the juices to an airtight container. Store in the fridge for up to 3-4 days. Keeping the meat with some of the braising liquid adds moisture and helps prevent it from drying out when reheated.
You can also freeze leftover braised chuck roast in a freezer-safe container for up to 3 months.
Common Questions
Yes. A smaller chuck roast may become tender sooner, so start checking it earlier. It's ready when a fork slides in easily and the beef pulls apart without much resistance.
Chuck roast should be very tender after braising. The low and slow cooking process gives the connective tissue time to break down. If your roast is still tough, it usually needs more cooking time.
Yes. Carrots, potatoes, and celery are all great additions to a braised chuck roast. Cut the vegetables into large chunks so they hold their shape during cooking. For firmer vegetables, add them partway through the braising time rather than at the beginning so they don't become too soft.
There are so many ways to enjoy it. Serve the beef with mashed potatoes and vegetables for a classic comfort food dinner. You can also shred the leftovers for sandwiches, salads, or another easy meal the next day.
It's easy to make a simple gravy or pan sauce in about 5 minutes. Pour the braising liquid and any drippings into a gravy separator. Discard the fat and strain out any solids. Add the liquid to a saucepan on the stove and bring it to a simmer. Mix 1 tablespoon of cornstarch with 1 tablespoon of cold water to make a slurry. Whisk the cornstarch mixture into the liquid and cook until the gravy thickens. Season to taste.
Related
Looking for other recipes like this? Try these:


Recipe
Braised Chuck Roast
Ingredients
- 2 lb beef chuck roast
- 2 tablespoon olive oil
- 2 cloves garlic diced
- 1 onion sliced
- 2 cups beef broth
- 1 cup red wine
- 2 teaspoon salt
- ½ teaspoon pepper
- 2 sprigs fresh rosemary
- 2 bay leaves
Instructions
- Preheat the oven to 325.
- Heat the oil in a dutch oven over medium heat.
- Season the beef with salt and pepper.
- Sear the beef on all sides, about 1-2 minutes per side.
- Remove the beef.
- In the Dutch oven, sauté the onions and garlic for 2-3 minutes or until softened.
- Add the wine, bring to a boil, and let it reduce by ⅓.
- Place the beef back into the pot.
- Add the broth until it is halfway up the roast.
- Add rosemary and bay leaves.
- Bring to a boil.
- Cover and place in the oven.
- Bake for about 2.5-3 hours, flipping halfway through, or until the meat is fork-tender.
Notes
Nutrition
Like what you see? Follow us on Facebook and Instagram! Love this recipe? Leave a comment & a 5-star rating right here! Make sure you don’t miss new recipes by getting email updates!
Comments
No Comments